This week assignment task to design a 3D mold, machine it, and cast parts from it
Coming out with the design
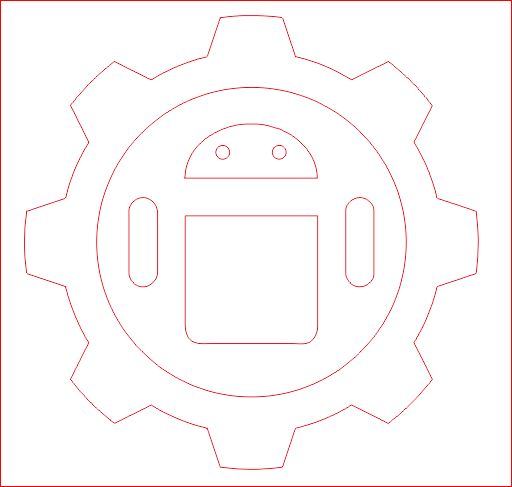
To begin, the first important step is to come out with a design. I got an inspiration from the android mascot. Afterwhich I added a gear ring surrounding the mascot to make it distinctive.
The final image after I used Coraldraw to combine the two images together.
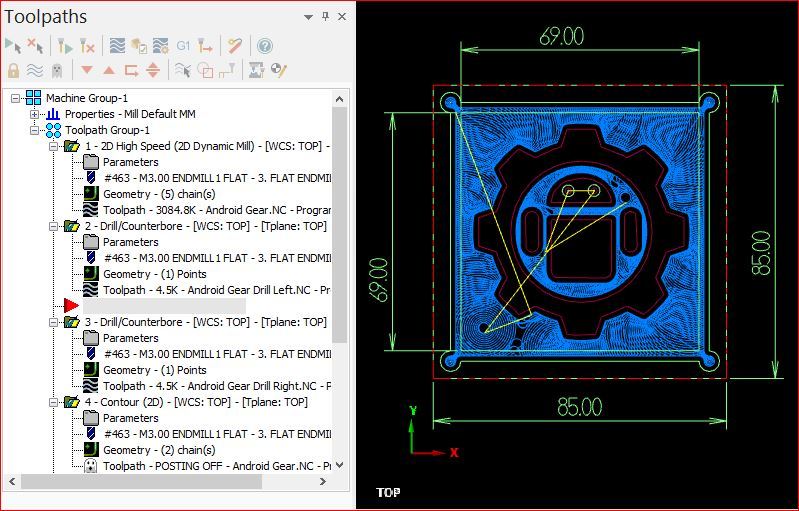
I decided to use SK2030 Router to cut the design and proceed to prepare a small piece of raw High Density Polyethylene (HDPE) to be made into a positive mould. Afterwhich, I converted the Coraldraw file into a DWG file then used MasterCAM to open the it. The MasterCAM is used to prepare the toolpaths for routing. The setting can be found in the MasterCAM file link below.
The setting for the SK2030 router were 21000 rpm for the spindle speed and feedrate is 35% of spindle speed.
*A important thing to note is to have design interior milled down slightly lower than the outer boundary. Depending on design, 1mm to 2mm
would be sufficient. The reason for this was to let casting of the design interior link up or joined to the outer boundary to form one piece. Otherwise, the casting be in bits and pieces.
Once MaserCAM was done, I started to prepare a vacuum chamber. Thanks to staff at W14 and our course mate, Hendra or their kind help we managed to assemble together a vacuum chamber with pump.
Vacuum Chamber Testing.
The reason for this method is to allow air trapped in the silicone during pour to be effectively removed quickly. Otherwise, the silicone will have bubble air imprints and will cause the casting to fail.
Making the mould
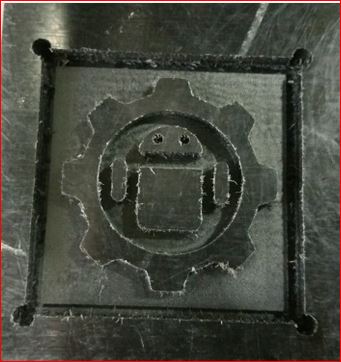
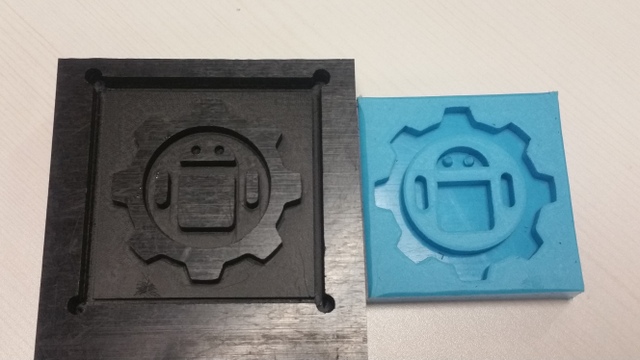
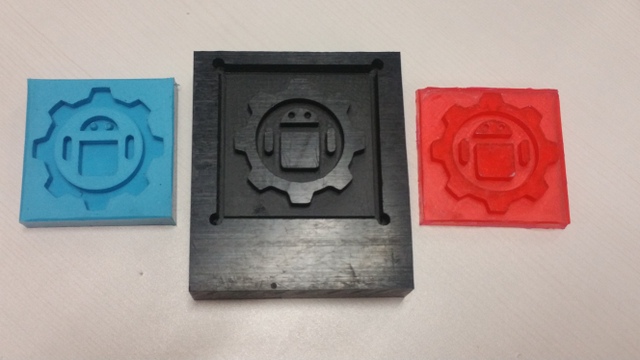
I used a 2D router model SK2030 to route the Android Gear design on a piece of High Density Polyethylene (HDPE). The reason for using this material was because it is tough enough and not brittle enough to allow easy de-moulding.
Preparing and making the silicone rubber mould
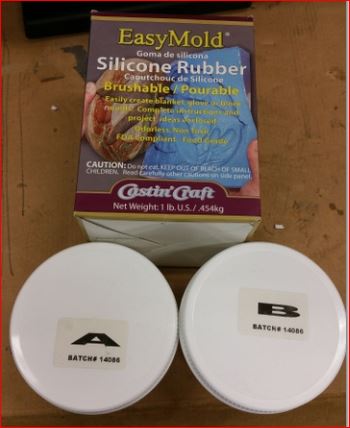
I used the Casting Craft Easy Mold kit to make the rubber silicone.
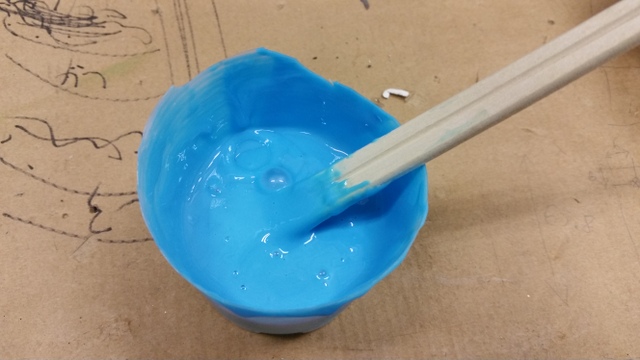
Next is to mix Part A (Resin - White Color) and Part B (Hardener - Blue Color) in equal proportion together.
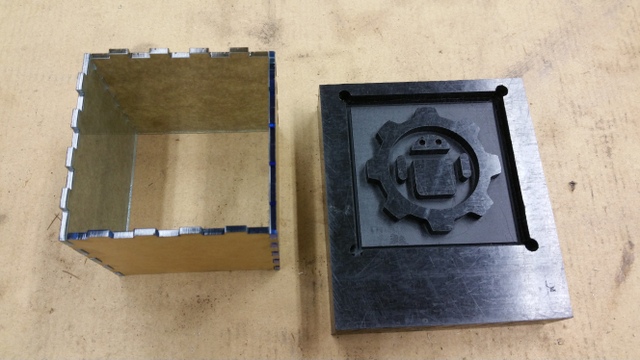
After mixing, the silicone mixture is set aside to rest for a minute or so. This is allow air bubbles to be release. I then assembleed the arcylic panels into the mould itself.
The link to make the arcylic box website. (Right Click and Open link in new tab/window)
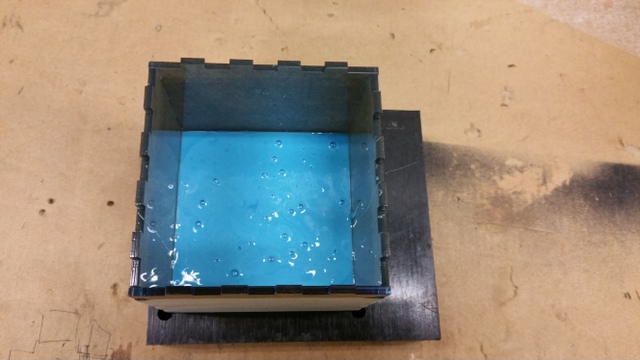
Now is to pour the silicone mixture into the assembled mould.
As you see there are still air bubbles on the surface of the silicone. These bubbles will need to be removed because they will adversely affect the end product of the mould. Therefore by putting it into the vacuum chamber, the negative pressure will draw out the air bubbles from the silicone mixture. The video below showed how the air bubbles were being drawn out.
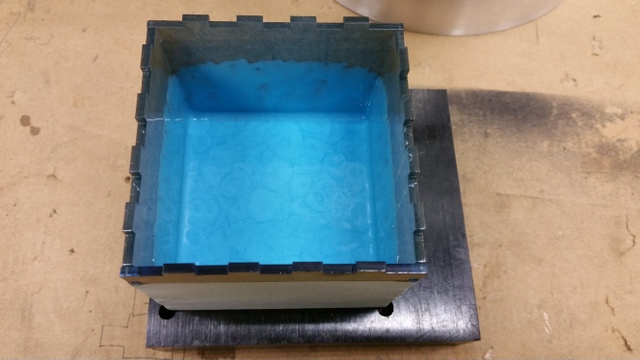
You will noticed that towards the end of the video, the silicone didn't rise as much as compared to the begining. This is because there are lesser and lesser air bubbles in the silicone mixture. Now the mould assembly can taken out and leaved to cure for 24 hours as the instructions indicated.
Noticed the marbled surface of the silicone mixture.
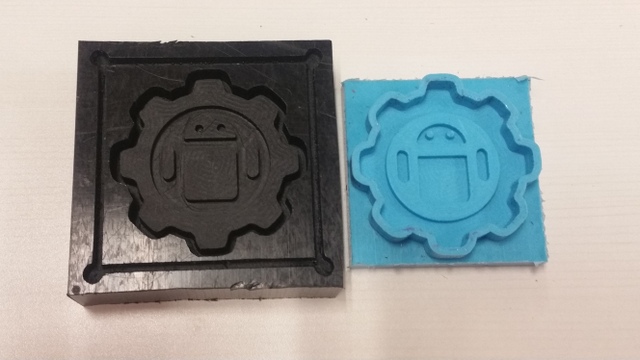
The silicone mould after it was separated from the mould.
Preparing and making the cast
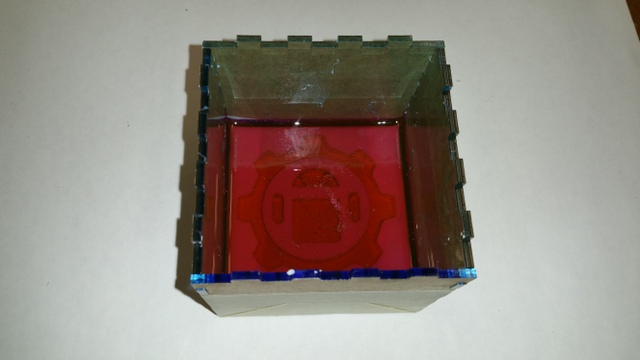
After 24 hours of curing, the silicone negative mould is separated from the positive HDPE. The arcylic panels were then reused to contain the silicone mould as shown below.
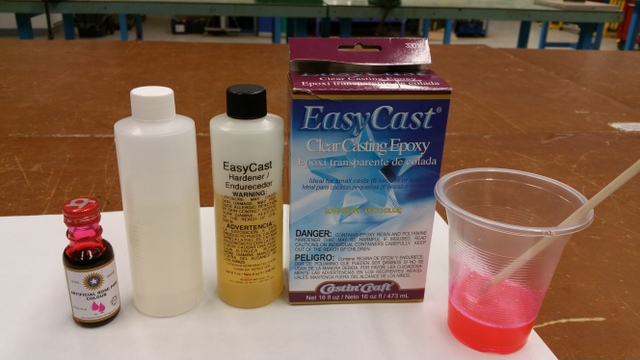
Then I used the Easy Cast epoxy to make the cast with an organic red dye.
The final epoxy was achieved by equal one part Resin and one part Hardener, plus a few tiny drops of red dye in a plastic cup. The important thing to note while mixing was not to stir vigorously otherwise excessive air bubbles will formed. If too much air bubbles were present, it would take a longer time to disperse and the epoxy mixture needs to be used with 20 minutes. The pouring of the epoxy mixture into the mould be must be done a slow steady manner to reduce formation of air bubbles.
After pouring the mixture, a careful inspection had to be carried out to spot air bubble at the bottom of the mould. They can be easily drawn out by using a toothpick. Once satisfied, leave it to cure for 24 hours.
The Results
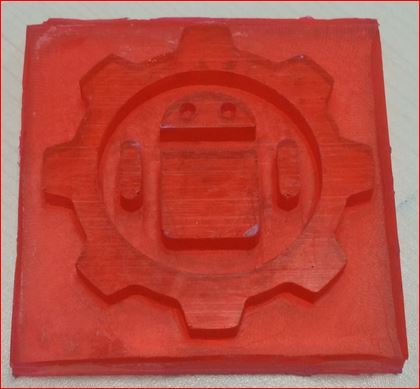
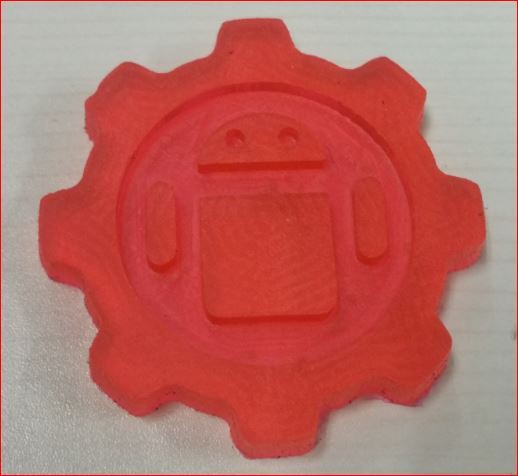
Once the cast has been cured for 24 hours, it should comes out easily.
My comments
As you see from the cast, the area surrounding the design would needs to be trim due to its serrated edges. Overall the casting surrounding the design looked ugly and is really a sore eye in my opinion. It affected me so much that I needed to redo the design again.
Second mould design.
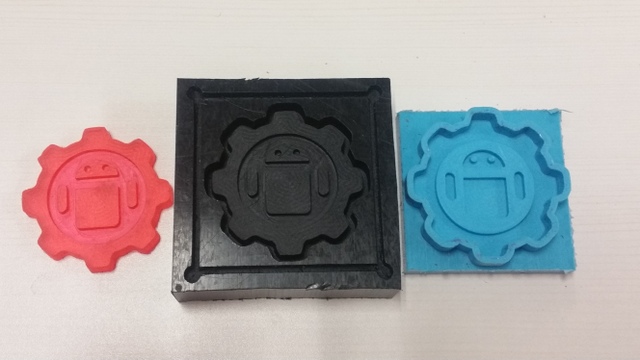
I added a contour cut on the outer gear design so that the silicone can flow into cavity. The reason for doing so is to create a containment such that the epoxy can be poured without having to built a wall around it.
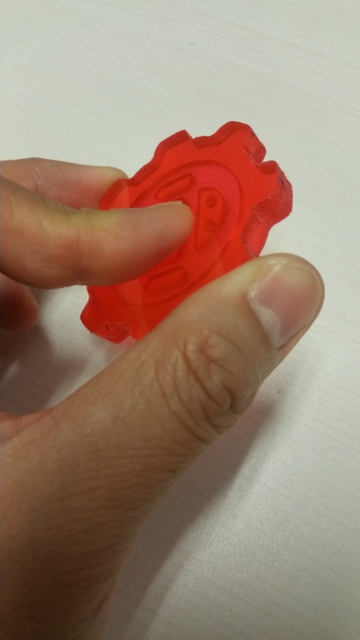
The second design cast.
Noticed the casting this was so much better with edges to trim as compared to the first casting. I'm quite satisfied with the results.
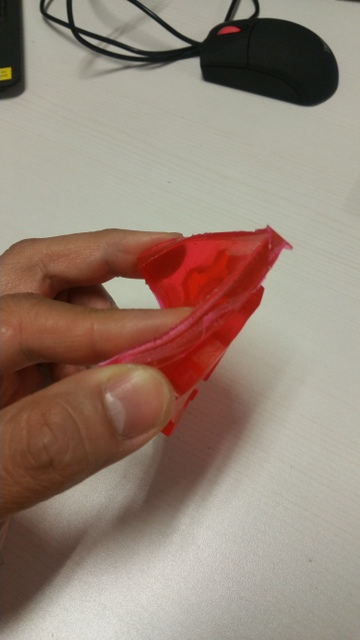
The mixing of the epoxy is important. Although the instructions stated equal part of Resin and Hardener, it didn't turn out well even though I used a small weighing scale to measure accurately. Noticed how soft the casting turn out and can be flexed easily.
Therefore, I increased the hardener by a rough estimation of about 15%, according to weigh. The casting turned out well.